

How to install a rear spoiler, in short: first confirm what the kit specifies. The part decides whether you are taping or bolting, and no guide should override the instructions that came with your specific spoiler. Then clean, test-fit, mark, fix the part securely, seal anything you drill, and check the car over before you drive it. Do that and the spoiler should sit flat and quiet.
Fitting a spoiler is one of the more satisfying exterior jobs you can do on a car, and one of the easiest to get wrong. Most failures do not come from a lack of skill — they come from skipping preparation. Dust left on the panel, a mounting foot positioned a few millimetres off, a drilled hole that was never sealed, or a part fitted and immediately driven hard before the adhesive had built any strength.
The consequences are the annoying kind: a part that lifts at one corner, a rattle you cannot find, water in the boot after the first heavy rain, or a set of holes in the wrong place. None of those are dramatic, and all of them are avoidable.
Before you start, make sure the part actually suits your car. Our universal spoiler fitment guide covers the measurements and interference checks, and spoiler vs wing explains why raised wings need bolting rather than tape.
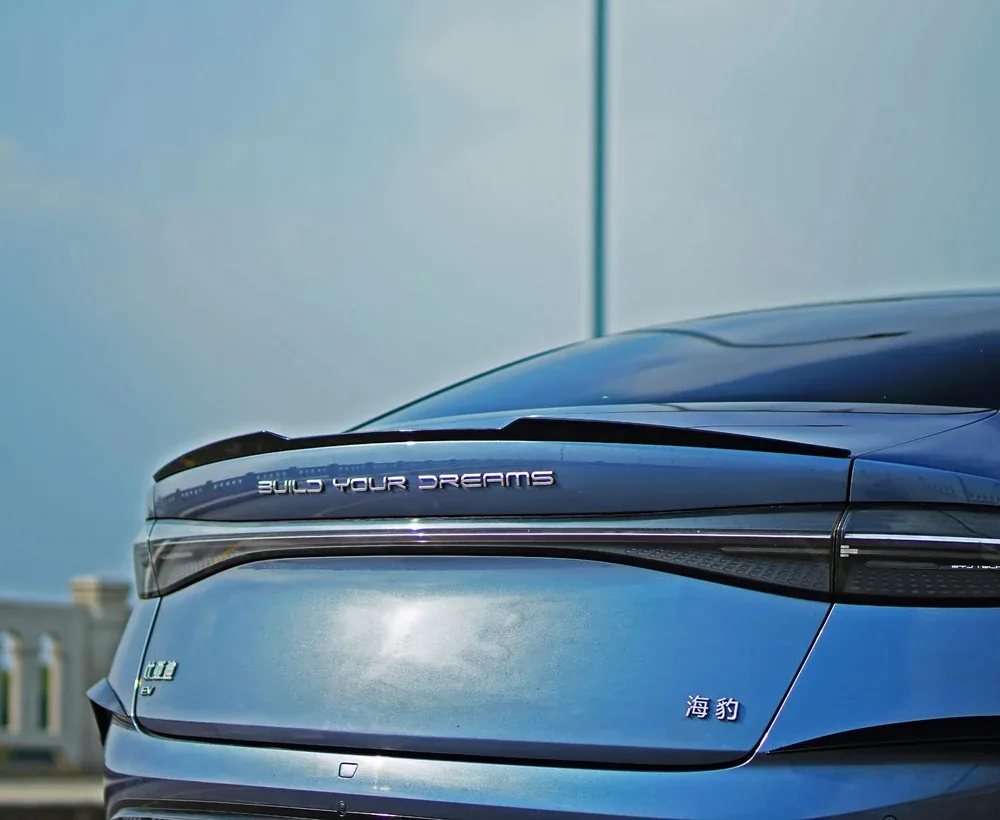
The short answer: the kit decides the method
There are two mounting methods, and you do not get to choose freely between them. The spoiler was designed for one or the other.
Tape-on suits light parts — lips, blades and slim roof spoilers. Modern automotive-grade double-sided tape, such as 3M VHB, is a genuine structural adhesive when it is applied to a clean, properly prepared surface with enough pressure. It leaves the car unmodified, which makes the job reversible.
Bolt-on suits anything that stands off the body or carries real load. A raised wing acts like a lever on a boot lid at speed, so it needs mechanical fixing, quality hardware, and in some cases backing plates to spread the load across the inner panel.
Many vehicle-specific spoilers use both: bolts for retention, tape along the edge to seal the joint and hold the part flush against the paint. Read the supplied instructions first and follow them. Everything below is the general sequence that sits behind those instructions.
What you need before you start
Gather your tools before you touch the car, because once the surface is cleaned you do not want to be hunting for anything.
For both methods: painter’s tape, a tape measure, a marker, isopropyl alcohol at around 70%, clean lint-free cloths, plastic scrapers, gloves, and a warm, dry, dust-free place to work.
For tape-on: automotive-grade double-sided tape such as 3M VHB, adhesion promoter or primer suited to painted and plastic surfaces, a roller or hard felt block, and a trim tool for removing liners.
For bolt-on: a drill with the correct bit size for the hardware, a centre punch, a deburring tool or fine file, touch-up paint or a rust-prevention coating, automotive sealant, corrosion-resistant bolts and washers, backing plates where the panel calls for them, and the correct tools to tighten the supplied fasteners.
Work indoors or in the shade if you can. Direct sun makes panels hot, and adhesive performance and paint temperature both matter more than most people expect.
Step 1 — Confirm the kit and plan the job
Lay the part out and identify every component: the spoiler itself, the mounting feet, the fasteners, any studs or brackets, the tape strips and any sealing washers. Then check the part against the car on the bench, not on the vehicle — compare the curve, the width and the foot positions with the panel while you can still move things around easily.
Confirm the mounting plan before anything is cleaned or drilled. If the spoiler reuses factory holes, identify them. If it needs new holes, look for the drilling template. If there is no template, you will be making your own from the part, which is exactly the point at which measuring twice stops being a cliché.
Step 2 — Clean and prepare the surface
Adhesion is a preparation problem, not a product problem. A premium tape applied to a dusty or greasy panel will fail; an ordinary tape applied to a properly prepared panel will hold.
Work in three passes. Pre-clean any heavy contamination, then wipe the full bond area with a cloth dampened with isopropyl alcohol — around 70% IPA with water is the usual recommendation for removing dust, dirt and fingerprints — and finish with a clean, dry cloth so no residue is left behind. Oily contamination may need a stronger solvent, and the tape manufacturer’s guidance is the reference to follow.
Then decide whether the surface needs more help. Painted panels and plastics are relatively low-energy surfaces, and primers or adhesion promoters are specifically designed to improve bonding to them. A light abrasion with a fine hand pad can also improve contact on smooth or oxidised surfaces, but the area must be cleaned again afterwards to remove the debris you just created. If you use a primer, apply it as directed and let it dry before any tape goes down.
Finally, do the whole preparation in one go and then mount the part in the same session. A panel wiped clean in the morning and fitted in the afternoon is a panel with new contamination on it.
Step 3 — Test-fit and mark the position
Set the spoiler in place dry, with no tape and no fasteners. Use painter’s tape to hold it while you check the fit from several angles: the ends against the body lines, the gap under both mounting feet, the clearance at the rear glass, and the height against the roof line.
Then open and close the boot lid, tailgate or rear screen slowly through its full travel and watch for contact. On a hatchback or SUV, check the rear wiper sweep. On anything with a powered tailgate, note whether the struts are comfortable with the added weight.
Once the position looks right, mark it. Tape around the edges of the mounting feet with painter’s tape so you can find the exact location again after cleaning, and mark the fixing points precisely if you are drilling. This is the step where an extra fifteen minutes saves an afternoon.
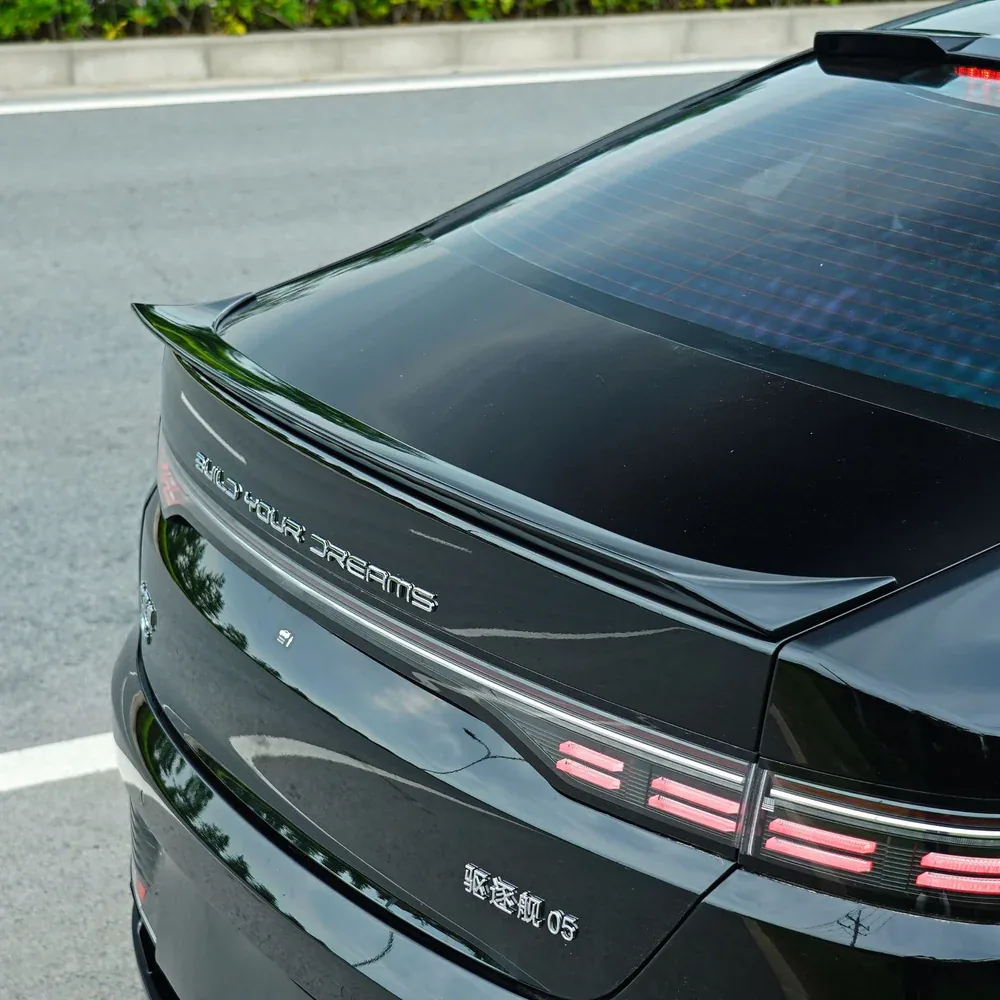
Step 4 — How to install a rear spoiler with tape
Start with the tape itself. Apply it to the mounting surfaces of the spoiler in continuous strips rather than short pieces, keep it a few millimetres inside the edge, and leave the liner in place until the part is positioned.
Positioning is easier with a helper. Set the spoiler in place using your reference marks, then lift one end slightly, peel back a short section of liner, and press that end down. Work along the part, peeling and pressing as you go, so you are never trying to place the whole length at once. A few strips of painter’s tape across the spoiler and onto the body will hold it in position while you work.
Then apply pressure properly. Tape needs roll-down pressure across the entire bond area to wet out against the surface — a firm pass with a roller or hard felt block, not a light press with a thumb. This is the step most home installations skip, and it is the difference between a bond that holds and one that starts to lift at the first hot day.
Follow the tape manufacturer’s guidance on cure. Adhesive strength continues to build after application, so keep the car out of a car wash and away from sustained high speed for the period your tape’s data sheet specifies.
Step 5 — How to install a rear spoiler with bolts
With the position marked, centre-punch each fixing point and drill at the size specified by the hardware, keeping the drill square to the panel. Work slowly with light pressure and let the bit cut; forcing it distorts sheet metal and enlarges the hole.
Then protect the metal you have exposed. Deburr the edge of each hole, and apply touch-up paint or a corrosion inhibitor to the raw edge, allowing it to dry before final assembly. This is a two-minute step that prevents a much bigger problem years later.
Seal the joint as well as the hole. Where a mounting hole passes into the boot or tailgate area, a small amount of automotive sealant around the hardware keeps water out. Water leaks are far easier to prevent now than to diagnose later.
Where the panel is thin or the part is heavy, use backing plates or reinforcement under the inner panel, and use the supplied hardware when it is good quality. If a kit arrives with fasteners that feel undersized for a large wing, replace them with corrosion-resistant bolts, washers and lock nuts that match the job. Tighten to the torque specified in the instructions — if none is given, use the standard torque for that fastener size in the material you are fixing to, without over-tightening into sheet metal.
Many vehicle-specific spoilers combine both methods: bolt the part for retention, then run tape along the mating edge to seal and flatten the joint. That is the arrangement to keep if the kit was designed that way.
Step 6 — Check the car over before you drive it
Before the car goes anywhere, run through the finished installation once.
- Look for gaps. Check both ends and both mounting feet. An uneven gap usually means one foot is not sitting flat.
- Test the moving parts. Open and close the boot or tailgate fully, and check the rear wiper sweep where fitted.
- Check the lights and camera. Confirm the high-mount brake light, rear camera and parking sensors all still work as before.
- Check for leaks. With the boot or tailgate open, look at the inside of the panel around the fixing points. If there is any doubt, test with a gentle hose rather than waiting for rain.
- Check for movement. Give the part a firm, sensible push in several directions. It should not flex at the mounting or move against the panel.
- Re-check the fasteners after the first drive, and again after a week.
Common mistakes
Skipping the test-fit. Most fitment disasters are visible before any drilling happens.
Cleaning and then handling the panel. Fingerprints are contamination. Work with gloves and fit the part in the same session.
Under-preparing the tape surface. No primer on a low-energy plastic, no abrasion on a glossy panel, and no pressure afterwards adds up to a part that lifts in the sun.
Drilling without checking underneath. Braces, springs, wiring and cables all live behind the panel. Look before you cut.
Leaving holes unsealed. Raw metal plus water equals corrosion, and an unsealed hole above the boot liner equals a damp spare-wheel well.
Taping a part that should be bolted. Tape is excellent for light, flat parts. It is not a substitute for mechanical fixing on a tall wing.
Driving hard immediately. Give the adhesive the time it needs, and re-check the hardware after the first few drives.
When to hand it to a body shop
Do the job yourself when the part is a light lip or a slim roof or trunk spoiler designed for tape mounting, the surface is clean and flat, and the kit includes everything you need. Check the installation information for your specific part first. If it confirms tape mounting, it is a straightforward afternoon’s work.
Hand it over when the part needs drilling into a panel that is curved or thin, when reinforcement or backing plates are required, when the car has a powered tailgate or an integrated brake light in the spoiler, when the finish needs painting to match, or when you simply do not want to be the person who puts a hole in the wrong place. A body shop has the tools, the sealants and the experience to do structural mounting properly, and it is money well spent on a part that stands off the body.
Care after installation
Wash the car normally, but avoid aiming a pressure washer directly at the joint between the spoiler and the panel — that is where an unsealed edge will eventually let water in. Check the fasteners at each service, and inspect the tape edge once or twice a year for lifting, especially on a car that lives outside. If a corner does start to lift, address it early rather than letting the whole strip work loose.
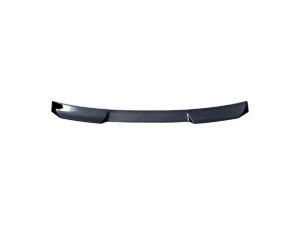
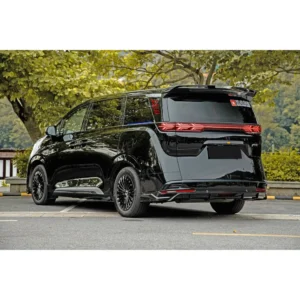
If you fitted the spoiler as part of a wider rear-end build, the same care applies to the parts around it. If you fitted a pair, such as the rear roof spoiler and blade trunk spoiler listed for the BYD SEAL 5 DM-i, inspect both edges at the same time. Keeping the whole set in one finish is what makes the rear of the car look finished rather than assembled. Browse the BYD exterior accessories range for matching parts.
Frequently Asked Questions
How hard is it to install a rear spoiler?
A taped lip or roof spoiler is a straightforward job for a careful DIYer with basic tools, and takes a couple of hours including preparation. A bolt-on wing is more involved because it requires measuring, drilling, sealing and often reinforcement. The skill is not difficult; the preparation is what matters.
Can I install a spoiler without drilling?
Yes, if the part is designed for tape mounting. Light lips, blades and slim roof spoilers are commonly fitted this way and hold well when the surface is properly cleaned and primed and enough roll-down pressure is applied. Tape is not suitable for large or high-mounted parts.
How long should I wait before driving after fitting a taped spoiler?
The part can usually be driven gently straight away, but the adhesive continues to build strength over the following day or more. Follow the tape manufacturer’s data sheet, avoid a car wash and avoid sustained high speeds or heavy load on the part until that period has passed.
Should I use tape or bolts on a wing?
Bolts, generally, with tape along the mating edge if the kit specifies it. A wing that stands off the body puts leverage on the panel, and mechanical fixing with proper hardware and backing plates is what keeps it stable at speed.
Do I need to seal the holes I drill?
Yes. Deburr each hole, treat the raw metal edge with touch-up paint or a corrosion inhibitor, and use automotive sealant around the hardware where the hole passes into the boot or tailgate area. Unsealed holes are a common cause of water in the boot.
Can I install a spoiler myself on a BYD with a powered tailgate?
It depends on the part. A taped roof spoiler adds little weight and is usually fine, but you should cycle the tailgate fully after fitting to check the struts handle it. Larger parts, or anything requiring drilling into the tailgate, are better handed to a workshop.
Get installation support before you start
Ask us for the installation information we have for your part before the car goes on the ramp, so you or your workshop know what you are dealing with. If you are not sure whether your car needs tape or bolts, send us the model, model year and market version with a photo of the rear of the vehicle, and we will check the listing for you. Finish options vary by part, so confirm the finish you want when you request a quote.
Fitting these parts for customers every week? MOQ is 1 piece, and pricing is tiered: the more you order, the lower the unit price, with no cap on quantity. We quote FOB or EXW, and DDP or DAP door-to-door for some countries. Listed parts are usually in stock (the exception is a new ODM design), and orders under 100 sets ship directly with no production lead time. Browse the full Spoilers & Wings range or request a quote.
References
- Applying 3M™ VHB™ Tapes — 3M — https://www.3m.com/3M/en_US/vhb-tapes-us/resources/applying-3m-vhb-tapes/
- 3M™ Industrial Adhesives and Tapes Division: VHB Tape Application Guide (PDF) — 3M — https://multimedia.3m.com/mws/media/1506096O/3m-iatd-vhb-apply-guide-english.pdf
- Rear End Spoiler Package Installation Instructions — General Motors (PDF) — https://ecommerce-assets.ext.gm.com/assets/products/documents/ISheets_84503539.pdf
- How Easy Is It To Install a Spoiler Myself? — CARiD — https://www.carid.com/articles/how-easy-is-it-to-install-spoiler-myself.html
- Aftermarket Spoiler Fitment Guide for a Clean Build — My Pro Street — https://my.prostreetonline.com/2026/09/04/aftermarket-spoiler-fitment-guide/
- Rear Spoiler Installation Guide — SSDD MotorSport — https://www.ssdd-motorsport.com/rear-spoiler-installation-guide/


 English
 Portuguese
 French
 Turkish
 Russian
 Arabic
 Spanish